
Harness the power of texture to add more depth, vibrancy, and contrast to your images. Here are a few techniques for capturing texture.
In the context of photography, texture refers to the visual quality of an object’s surface—transforming a two-dimensional photo by giving it a three-dimensional visual feel. Texture brings life and depth to images that would otherwise be flat and uninspiring.
It also appeals to our sense of touch, evoking feelings of pleasure, discomfort, or familiarity. Photographers incorporate texture into their work with the knowledge that it can elicit certain emotional responses from the viewer.

Texture can be found almost anywhere. It’s just a matter of knowing where to look and how to capture it. In this article, we’ll discuss some easy techniques for working texture into your compositions.
1. Adjust Your Camera Settings
The first step to creating texture in photography is adjusting your camera settings. One way to do this is by setting your camera to a high aperture (around f/6.0 or higher) to capture even the finest details and make the texture in your photos pop.
The downside to a high aperture is low shutter speed, which can result in blurry photos due to accidental camera shake. Avoid this by using a tripod to ensure your camera remains as still as possible.

The quality of the lens also plays an important role in bringing out texture to its fullest potential. Premium lenses generally excel in terms of image sharpness.
2. Shoot Macro
Using a macro lens—a lens that can work with short focusing distances and take sharp images of small subjects—can open up a world of visual possibilities, revealing details you can’t see with the naked eye and offering a whole new perspective of everyday objects.


Macro photography offers a whole new perspective by putting texture in the spotlight. Images via R_Szatkowski, Tammy Kelly, and Mihai_Andritoiu.
Texture helps tell a story of what we’ve often overlooked, making those things the focal point of eye-catching shots.
3. Train Your Eye to Look for Textures
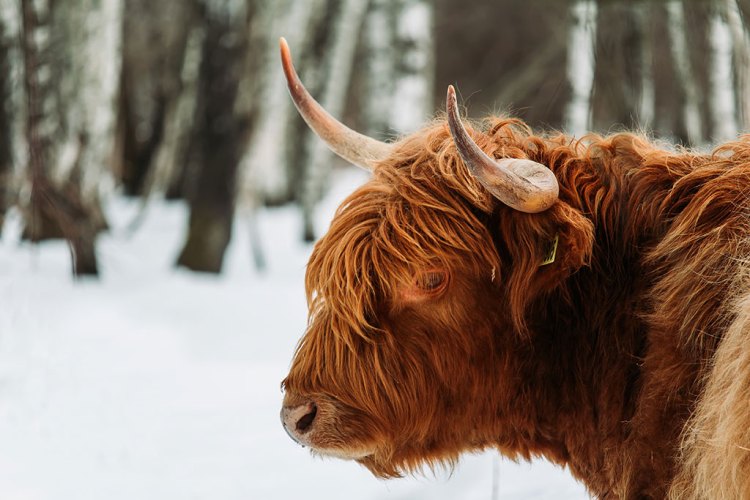
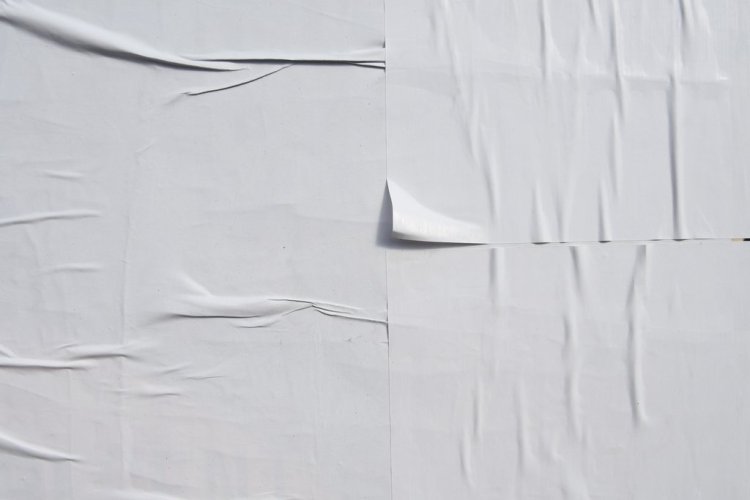
To capture texture in photography, you need to find it. Fortunately, every type of surface you intend to shoot, whether it’s human skin or a plastered wall, will have its own inherent texture. Once you start looking for textures, you’ll notice them all around you, and eventually encounter textures that are uniquely beautiful behind the lens.
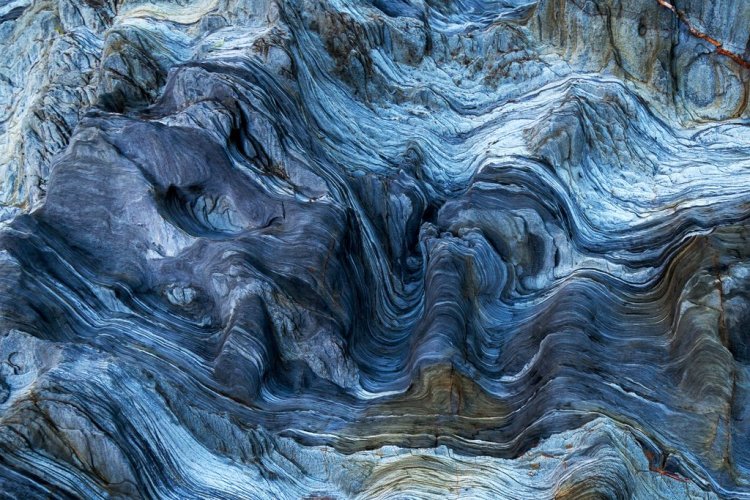
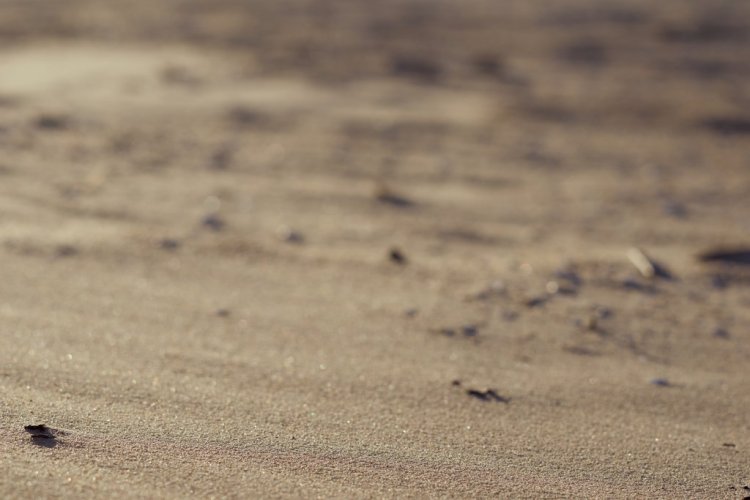
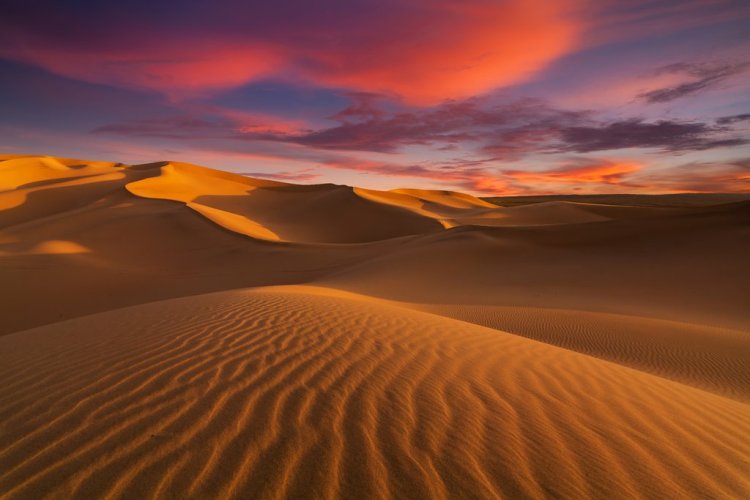
A good starting place for capturing interesting textures is the great outdoors. Turn your lens to rocks, grass, sand, soil, snow, plants, leaves, trees. For more complex shots, try to spot textures that are mixed together, like moss growing on a rock or water droplets resting on a leaf.
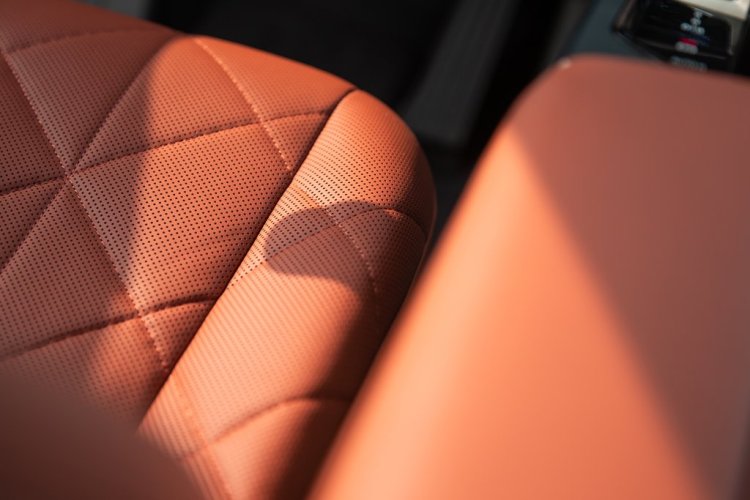
Textiles are another wonderful source of texture. You can find striking visual textures in fabrics like knit sweaters, woven rugs, and furniture upholstery.
Discover what interesting materials you have around your home and fold them into different shapes to create new and surprising compositions of shadow, light, and texture.


Human-made materials also provide us with opportunities to capture textures. Images via WiPhotoHunter, Stas Malyarevsky and Karen Culp.
4. Use Directional Lighting
The two main elements that impact the appearance of texture in photography are light and shadow. Texture catches the light and casts shadows, which creates greater contrast and depth in the image.
Sometimes, the surface relief on a subject is minimal, meaning the texture doesn’t stick out far. However, by repositioning the light, the texture becomes more apparent and helps create the best visual results.
On the other hand, a frontal light source (positioned head-on) is not going to create visible shadows. Rather, the shadowless on-axis illumination will flatten the appearance of texture.
By moving the source of light—or the subject—90-degrees in any direction, you can create stronger shadows thanks to how light and texture respond to each other to create shadows.
Use a single point of light from one direction to see how shadow brings out the best of the texture in your photography.
Move the light source lower down to create a longer, more dramatic shadow that highlights texture across a greater surface area. Adjust the object or the direction of the light source until the light that falls across the object highlights its textural characteristics.
5. Add Texture in Post-processing
Many photographers like to give the texture in their images a little boost in post-processing. There are several ways you can do this in Adobe Photoshop.


Enhance texture detail in Photoshop. Images via Kuttelvaserova Stuchelova, larisa Stefanjuk, and OlegRi.
Adding a Levels Adjustment Layer is one of the fastest ways to enhance texture in photography, allowing you to adjust shadows, midtones, and highlights in the image. Applying a Smart Sharped Filter will give the texture in your photo a nice crisp finish. A Gradient May Adjustment Layer makes it possible to adjust the color tone of the image and boost contrast.
Rather than enhancing texture, you can also create it—or rather, duplicate the texture you have. To do this, simply duplicate the Texture Layer and set the duplicate’s blending mode to Overlay.
With so many photography tricks, we can’t stop here. Keep honing your craft with these beauties:
- The 10 Best Photographers to Follow on TikTok
- How to Approach Stock Photography as Anthropology
- The Most Clickable Fall Images According to Data
- Tips from Globetrotting Travel Photographer Susan Portnoy
- How to Transform Black-and-White Photography into Color
Cover image by Stanislaw Mikulski.


